Both videos are edited with Adobe Premiere Pro and Audition. A 5-shot sequence is applied in these videos. Below each respective video, I have clearly explained how I edit the video on these applications.
Video Project: Interview with Edna
What is the video about?
In the video interview, we learned that Edna likes matcha, and she works in the charity as a fundraising executive. Her hobbies are Pilates and reading. She has a pet cat. John Green is her favourite author and has inspired her to do more charity work.
Vimeo link: https://vimeo.com/manage/videos/1180225762
These videos were filmed on my iPhone 13 Pro, where I applied the five-shot sequence to add personality and create a clearer focus in each shot. Using a variety of shot types helped make the footage more dynamic and engaging, while also supporting the flow of the story with stronger visual detail.
I used the following sequence:
Close-Up (Face) — This shot establishes who the main character is, which is Edna.
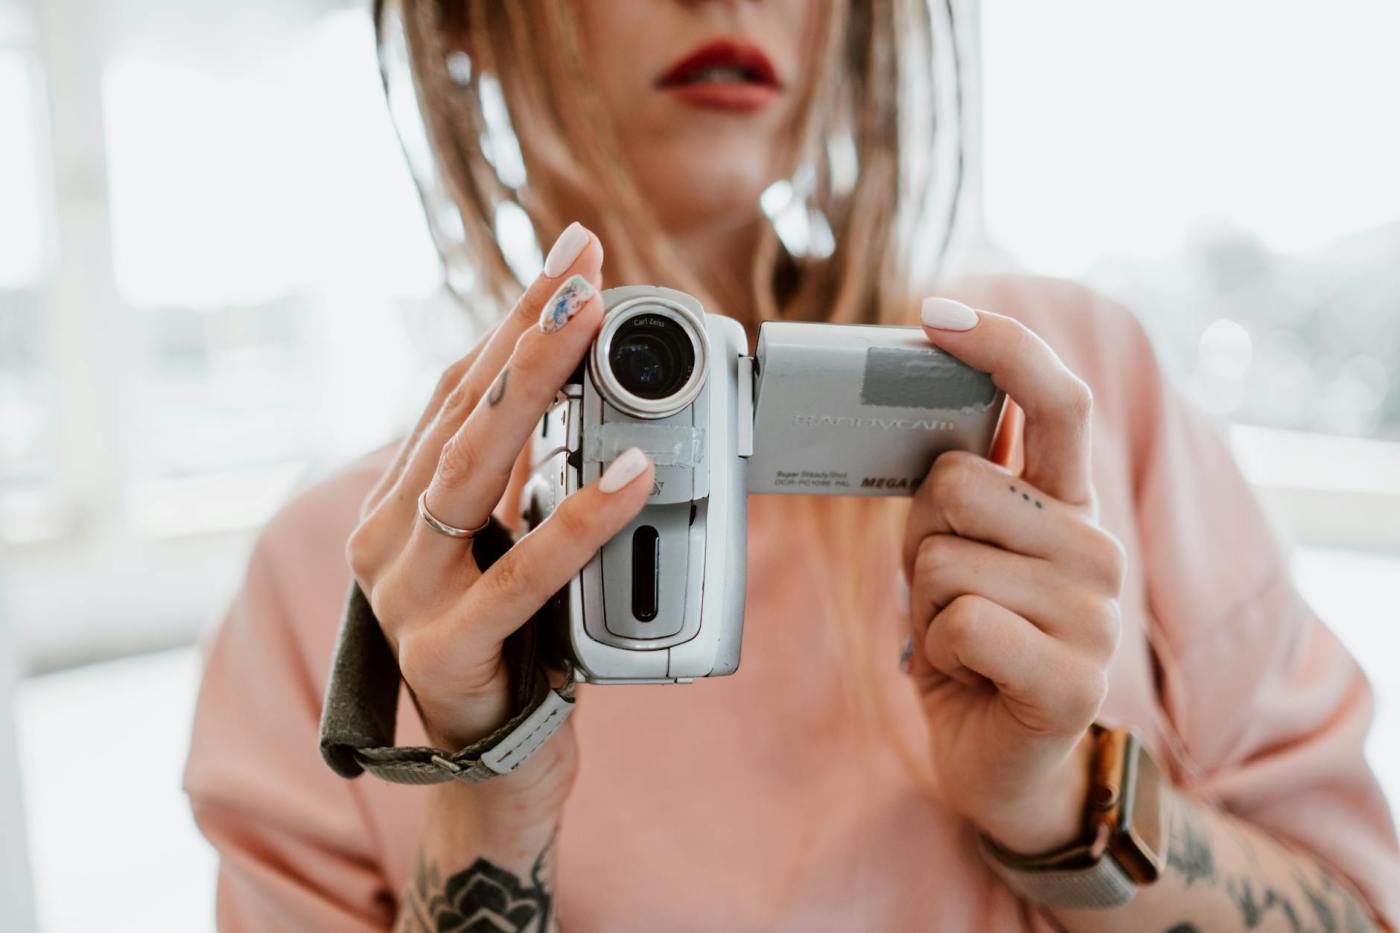
Close-Up (Hands)—Earlier, Edna mentioned that she likes matcha, so I chose to focus on her hands holding the half-drunk drink as a way to capture a more personal and authentic detail. This shot helped add personality to the sequence while drawing attention to a small but meaningful element connected to her character and presence.
Wide Shot — I then switched to a wide shot to show Edna within her surroundings and give more context to the setting. This also allowed me to highlight the greenery in the background, which complemented her relaxed outfit of a tank top and jeans and helped create a more natural, easy-going mood in the scene.
Point-of-View Shot— I began the sequence with a right to left camera movement and incorporated a point-of-view shot to reveal what Edna was seeing. This helped draw the viewer into her perspective, strengthening the flow and engagement of the sequence.
Hand-held Shot — The handheld shot helps make the video feel more intimate and unscripted. It adds a natural and candid quality to the footage, which strengthens the sense of authenticity and brings the viewer closer to the moment.
How I edited the interview shots on Adobe Premiere Pro & Audition:
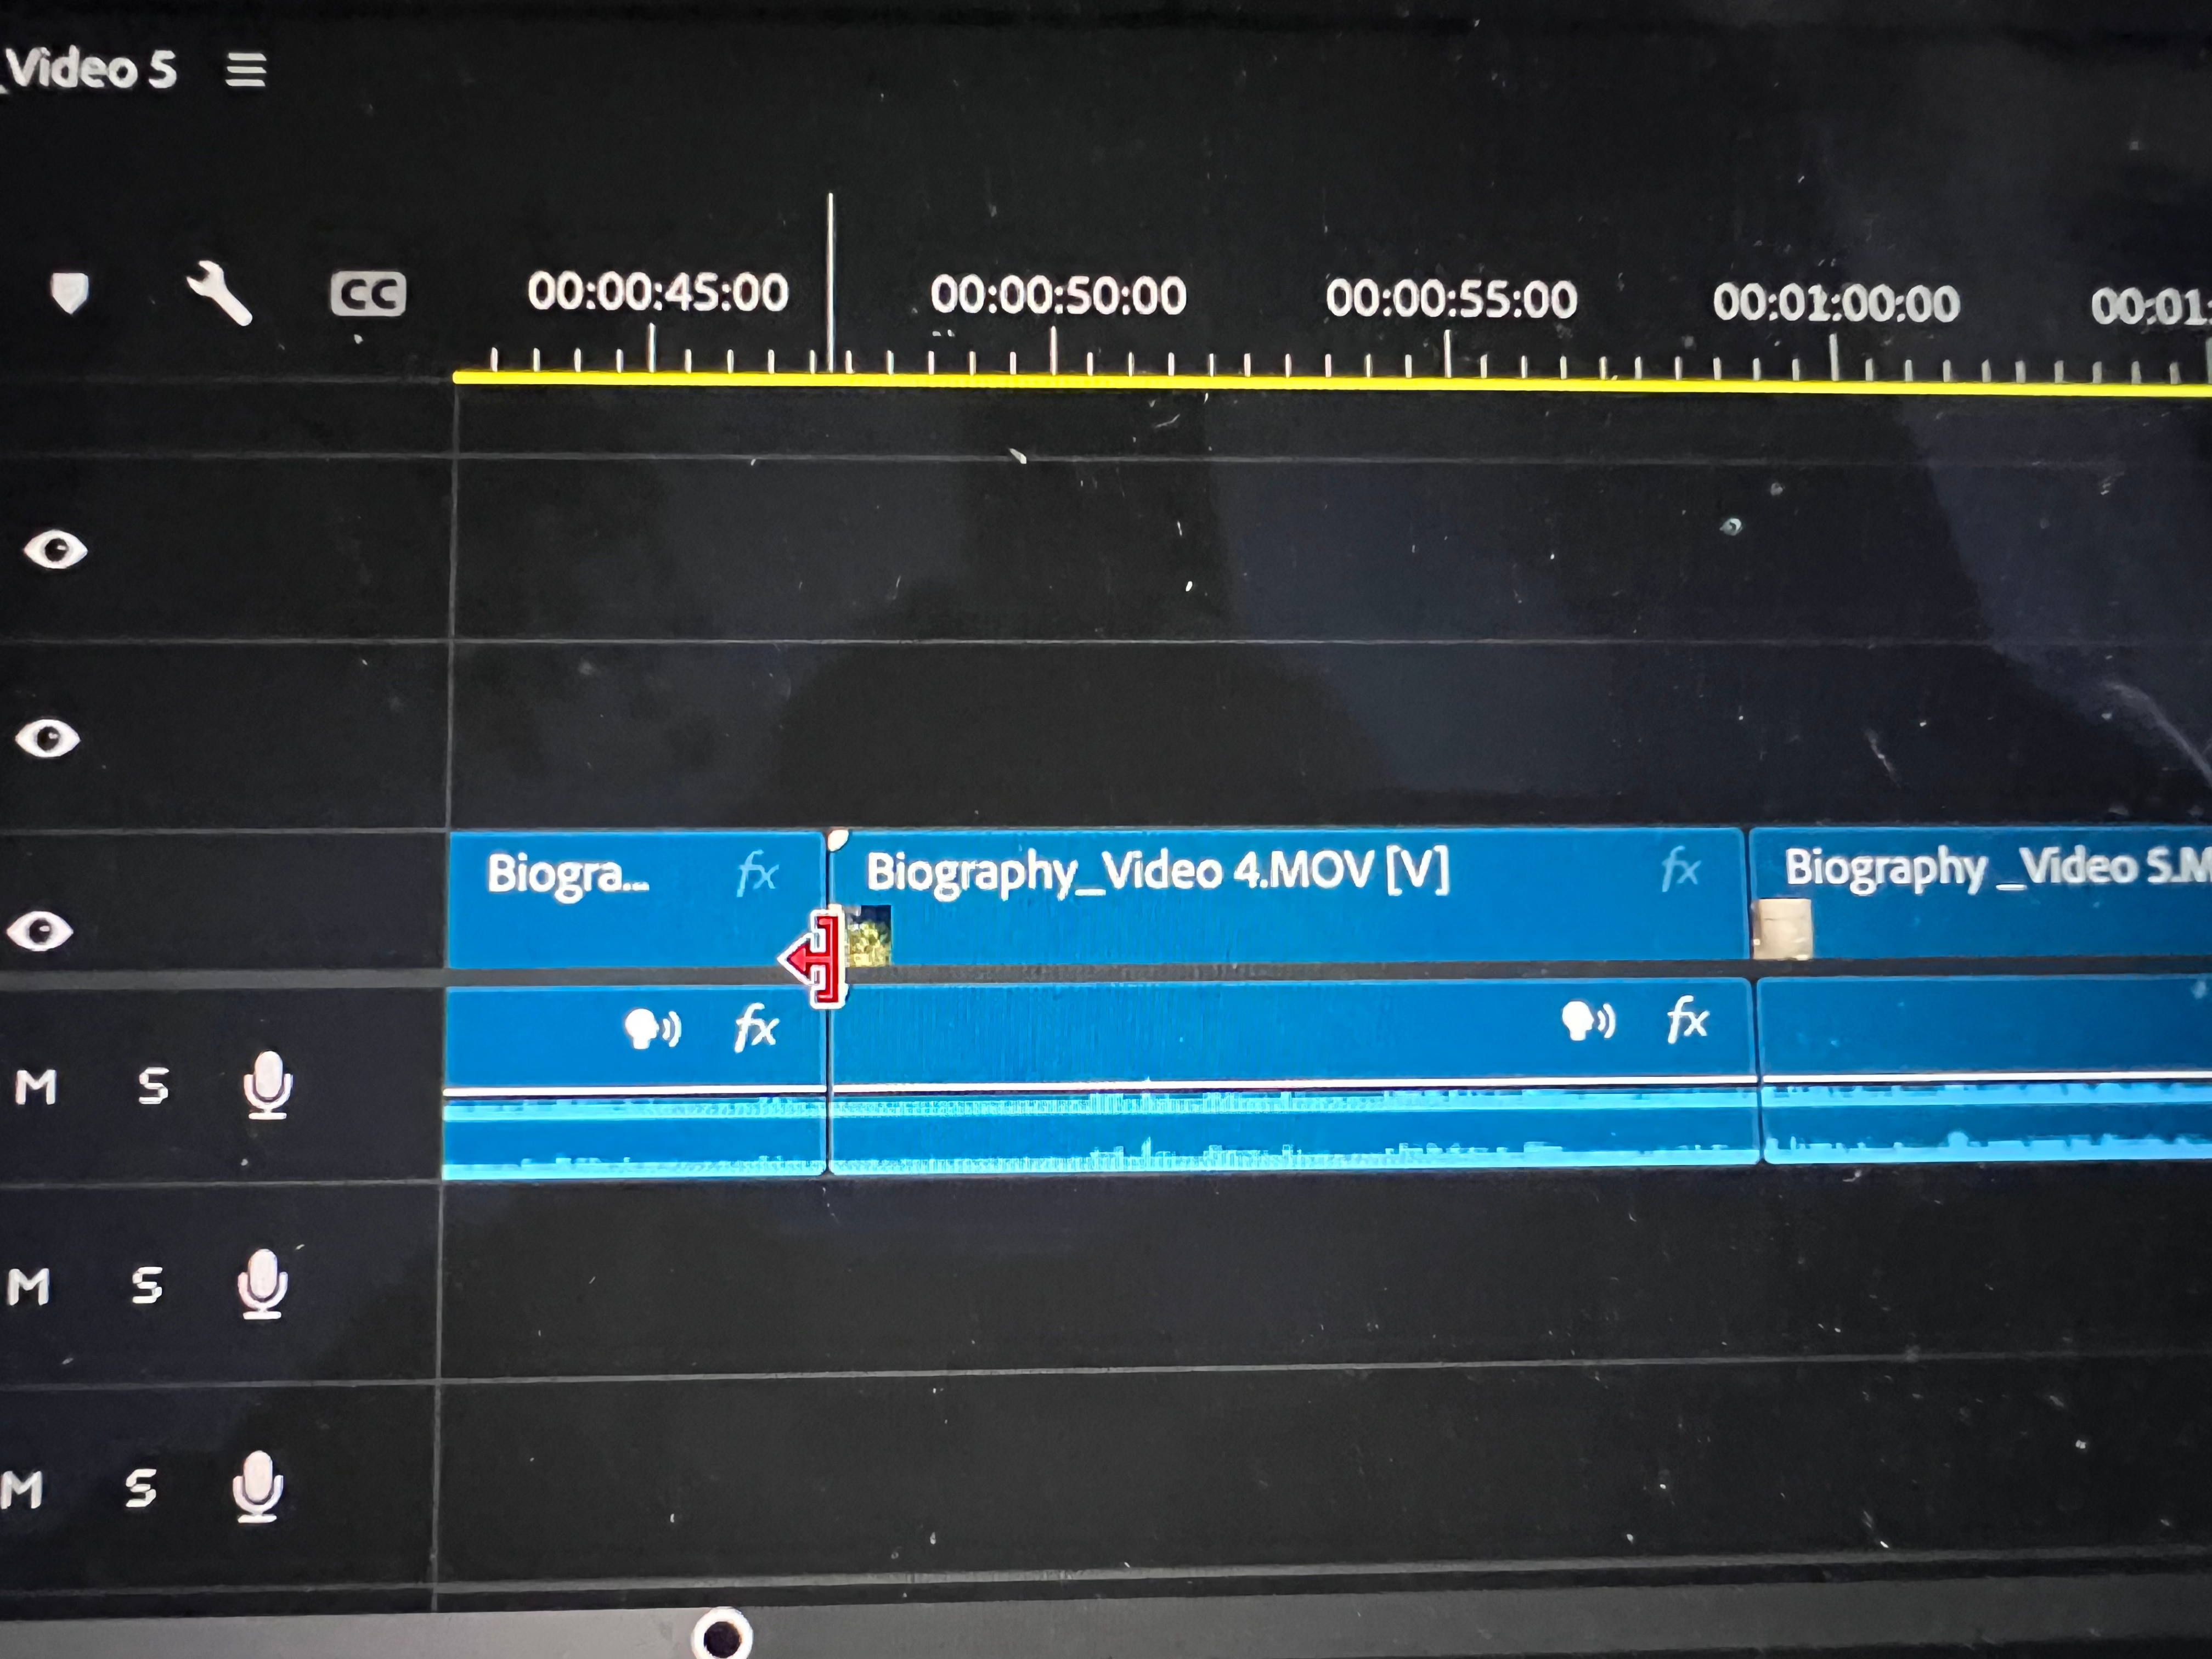
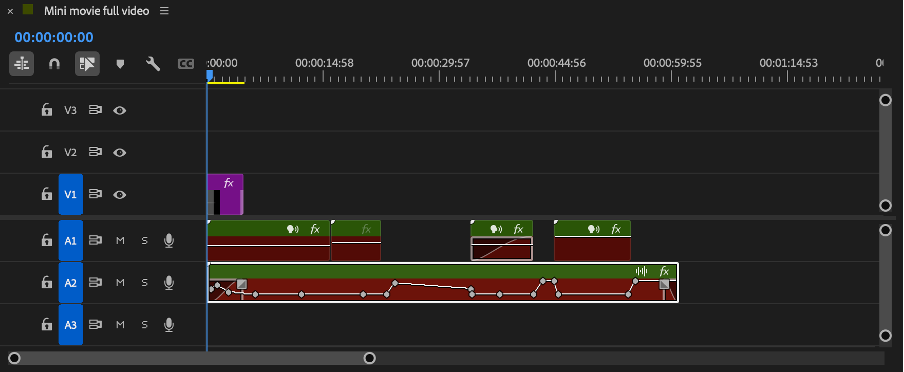
I started by arranging all my video clips in the same row on the timeline to organise the sequence. I then used non-destructive editing, which allowed me to make changes without permanently affecting the original footage. With the Trim and Razor tools, I could cut, shorten, and refine different parts of the clips while dragging sections to remove anything I did not want to appear in the final version.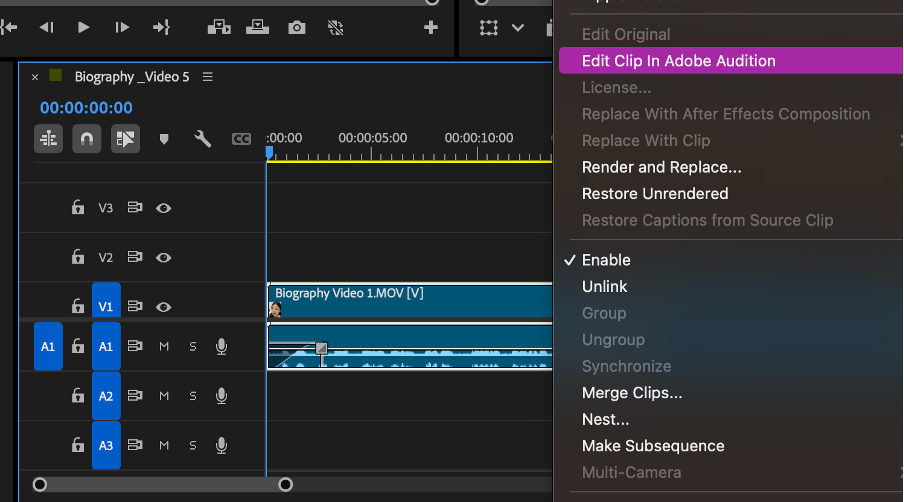
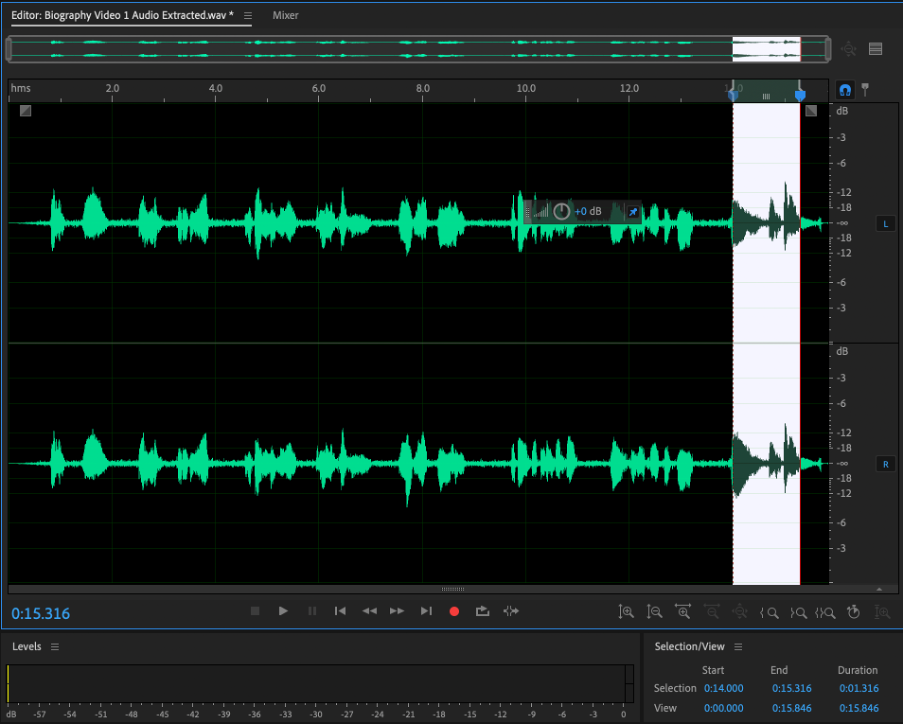
Some parts of the audio needed to be removed to improve the overall flow and clarity of the final video. I managed this in Adobe Audition by selecting the audio clip in Premiere Pro, right-clicking, and choosing “Edit in Audition.” From there, I highlighted the unwanted sections of the waveform, shown above in white, and deleted them. This allowed me to clean up the sound more, strengthening the overall presentation of the mini-movie.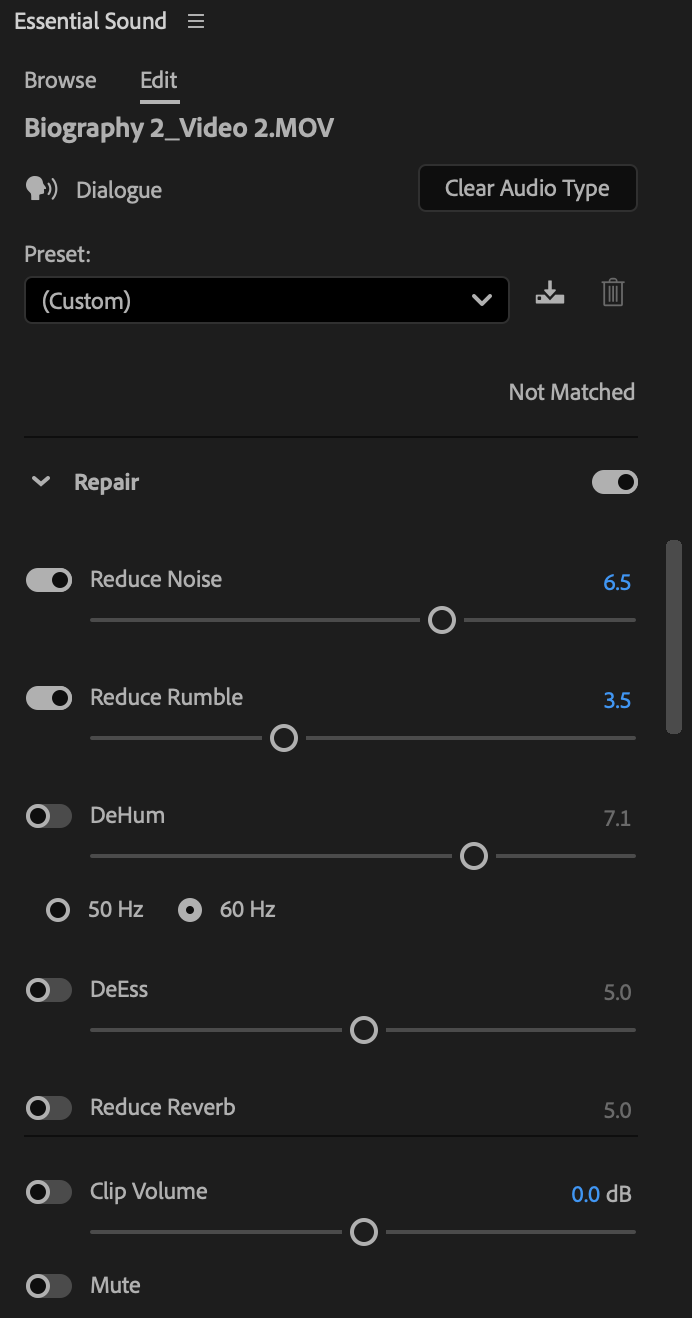 .
. 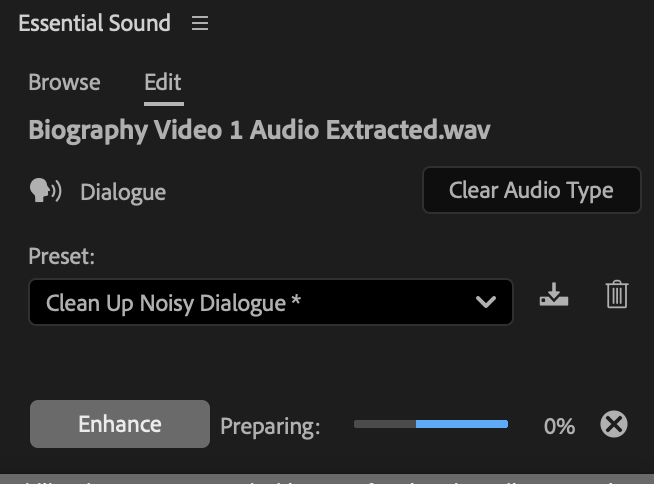
After testing the “DeNoise” effect in Premiere Pro, I found that parts of the background audio still sounded choppy. To further clean up the sound, I used the Essential Sound panel and applied the “Repair” settings to each video clip individually. I adjusted the “Reduce Noise” level between 6.5 and 7.5, which helped reduce unwanted background noise while preserving the clarity of the main audio. This step showed me how audio editing often needs balance, as excessive noise reduction can make the sound feel less natural.
Video Project 2: Mini-movie
What is the video about?
Perfectionist is a short film about control, intention, and the choice to let go. Through small rituals like arranging, aligning, and separating, the film explores how order can feel grounding. But sometimes, growth is found not in correction, but in restraint.
YouTube URL: https://www.youtube.com/watch?v=aImk1VpWSMc
These videos were filmed on my iPhone 13 Pro, with some shots supported by a tripod to reduce shakiness and create steadier footage. I applied the five-shot sequence to add personality and create a clearer focus in each scene. The use of varied shot types enhanced the overall visual storytelling while helping to portray a creative interpretation of how the mind of a person living with Obsessive Compulsive Disorder (OCD) may feel.
SEQUENCE 1 – POINT OF VIEW (POV)
Location: Balcony
Time: 12 – 15s
Props: Not applicable
Scene 1:
- POV or OTS shot
- Her hands rest on the window ledge
- Outside: subtle movement—wind, buildings, trees (soft focus)
- One hand tightens slightly, then relaxes
Camera—Handheld, firm grip, or use a tripod
Use Sound: Soft ambient music
Voiceover: My name is E, and I look for the quiet before anything else.
SEQUENCE 2 – MEDIUM SHOT (MS)
Location: Coffee/Tea station
Time: 5 – 10s
Props: Cup, Coffee Dispenser
Scene 2:
- Medium shot from shoulders down
- She waits for coffee to be dispensed, and while tapping her fingers
- She keeps stirring coffee in the same direction
- Rearranging foam
Camera—Slow push-in (forward)
Use Sound: Coffee machine dispensing
Voiceover: Routine isn’t repetition, it’s how I keep things steady.
SEQUENCE 3 – CLOSE-UP (HANDS)
Location: Home Office/At the Desk
Day
Time: 0 – 15s
Props: Desk, pen & notebook
Scene 3:
- Extreme close-up of hands on the desk
- She aligns pens parallel to the table edge
- A notebook is squared, nudged slightly, corrected again
- Fingers hover, and be precise and calm
Camera – Static
Use Sound: Brown noise, computer sounds
Voiceover: I notice details. When things are messy, I make them manageable.
SEQUENCE 4 – WIDE SHOT + OVER THE SHOULDER
Location: Dining Area
Time: 10 – 20s
Props: Plate with a few types of food (stacked together), Cutlery
Scene 4:
- Wide shot sitting down (face cropped)
- She arranges food carefully (to group them into 3 corners)
Camera—Locked off (observe the subject)
Use Sound: Soft ambient music
Voiceover: I like knowing where things belong. Nothing is touching, nothing out of place.
SEQUENCE 5 – REACTION/CUTWAY SCENE
Location: Indoors, home
Time: 0-10s
Props: Notebook, pens, desk
Scene 5:
- Cutaway to the desk
- One object is slightly misaligned
Camera – Static and hold longer
Use Sound: Breathe & soft exhale, soft ambient music fades into the background
Voiceover: And sometimes I just let things be.
How I edited these videos on Adobe Premiere Pro:
I started by placing all my video clips in the same row on the timeline to organise the sequence. I then unlinked the video from the original sound, which allowed me to edit the visuals and audio separately.
To build the story further, I added my voiceover and background on separate audio layers and applied (fx) effects to enhance the overall presentation. This process helped me develop a deeper understanding of timeline editing, sound management, and the creative tools within Adobe Premiere Pro. Through this project, I was able to strengthen my skills in video storytelling, audio layering, and post-production editing.
