This section features four photographs created in different formats: landscape, close-up action and portrait. Each image was planned to explore a different approach to composition, subject focus, and visual storytelling. As part of the editing process, I used non-destructive editing techniques to improve the photos while preserving the original image files. One of the photos also includes a changed background and added text, allowing me to experiment further with creative editing and visual presentation. Below, I have explained clearly how I edited each image in Adobe Photoshop to achieve the final results.
Landscape of Nature
Original Image Final Results
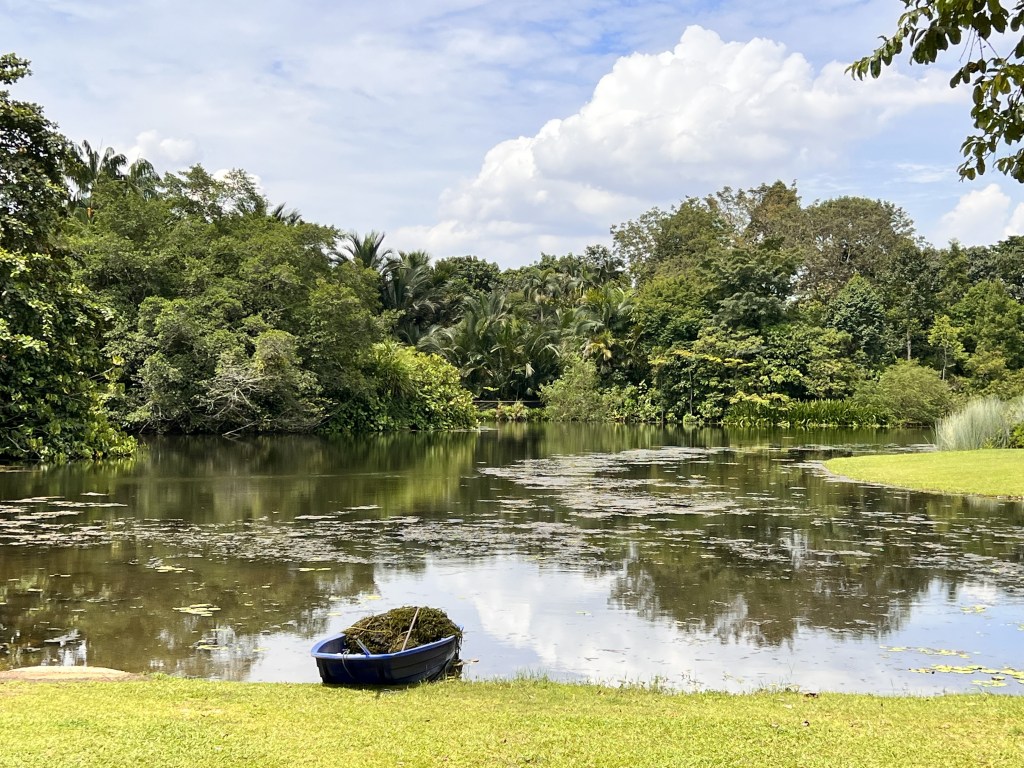
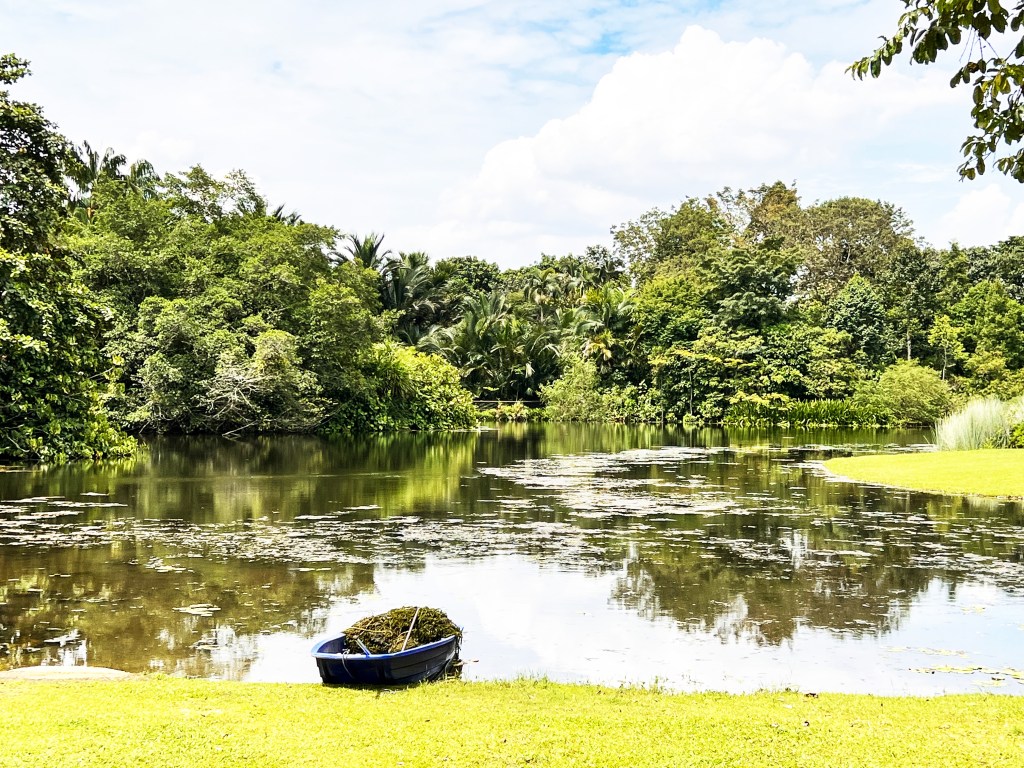
The edit focuses on greenery and water reflection.
How I edited the image
Brightness: +10
Contrast: +15
Vibrance: +20
Saturation: +5
Clarity and dehaze: – +20
Portrait picture (object)
Original Image Final Results
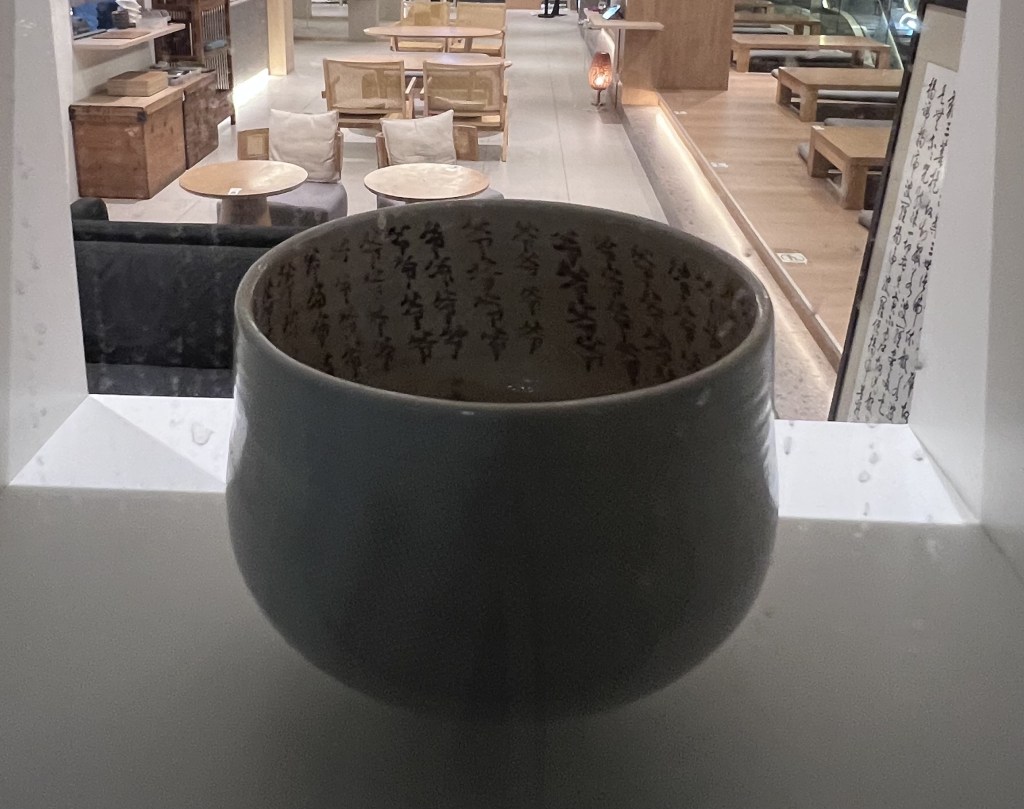
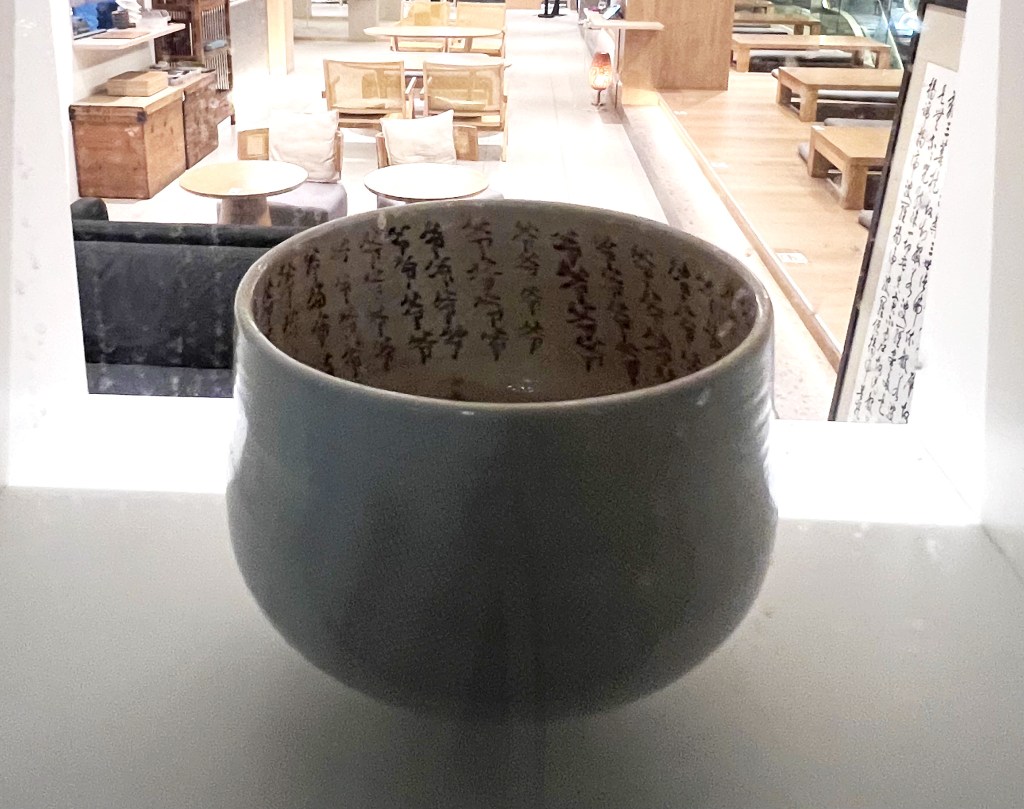
The edit focuses on the calligraphy details inside the cup and banner on the right.
How I edited the image
Brightness: +40
Contrast: +20
Vibrance: +20
Saturation: +5
Exposure: +0.2
Others
Adjustment of Levels: This improves depth, the lighting balance, and details inside the cup
Black: 10
Midtones: 1.20
White: 240
Action
Original Image Final Results
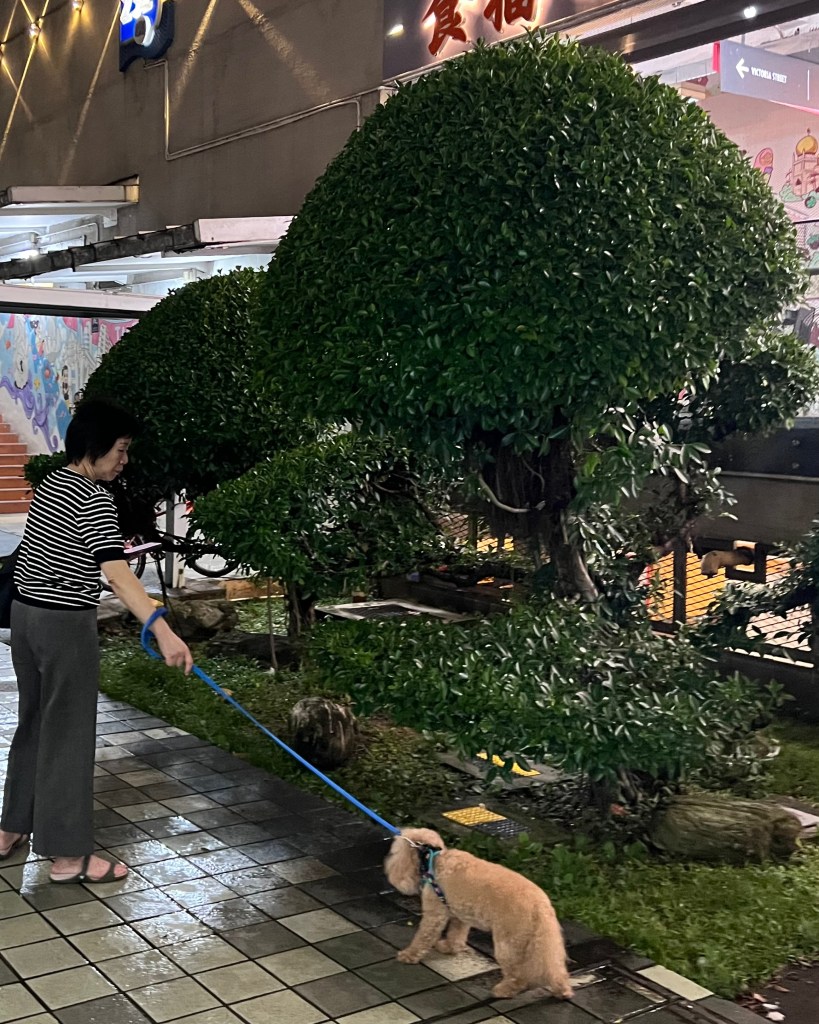
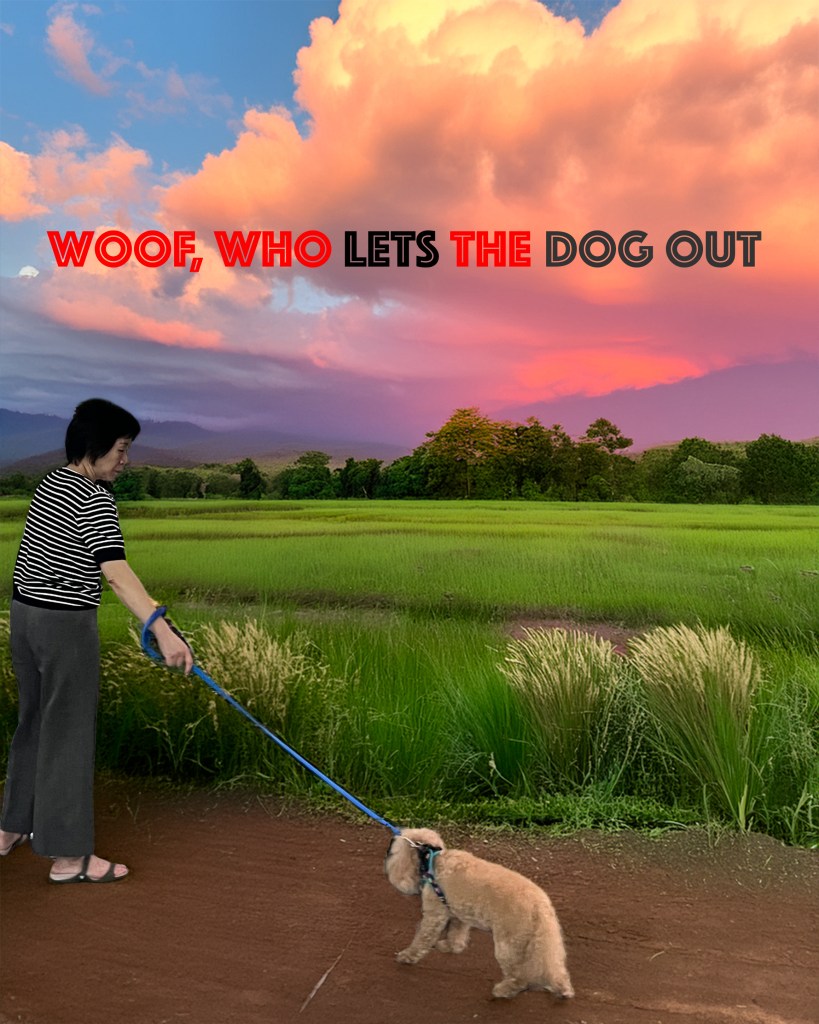
The edit is to change the background and add text.
How I edited the image
I used the Remove Background tool to isolate the subject from the original photo.
A new background featuring pink clouds and green fields was added to replace the original setting. This background was created using Generative AI in Photoshop to give the image a more imaginative and playful visual style.
I added text with the font Phosphate at 150 pt and applied red and black text colours to increase contrast and make the wording stand out against the background.
Portrait of a person
Original Image Final Results
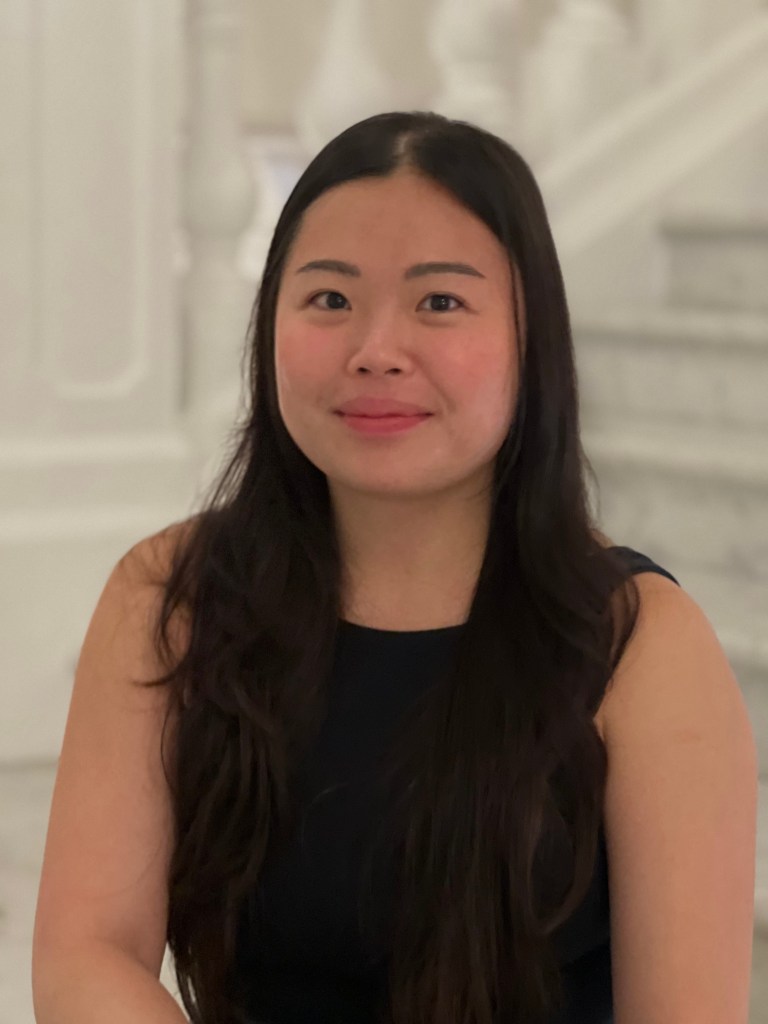
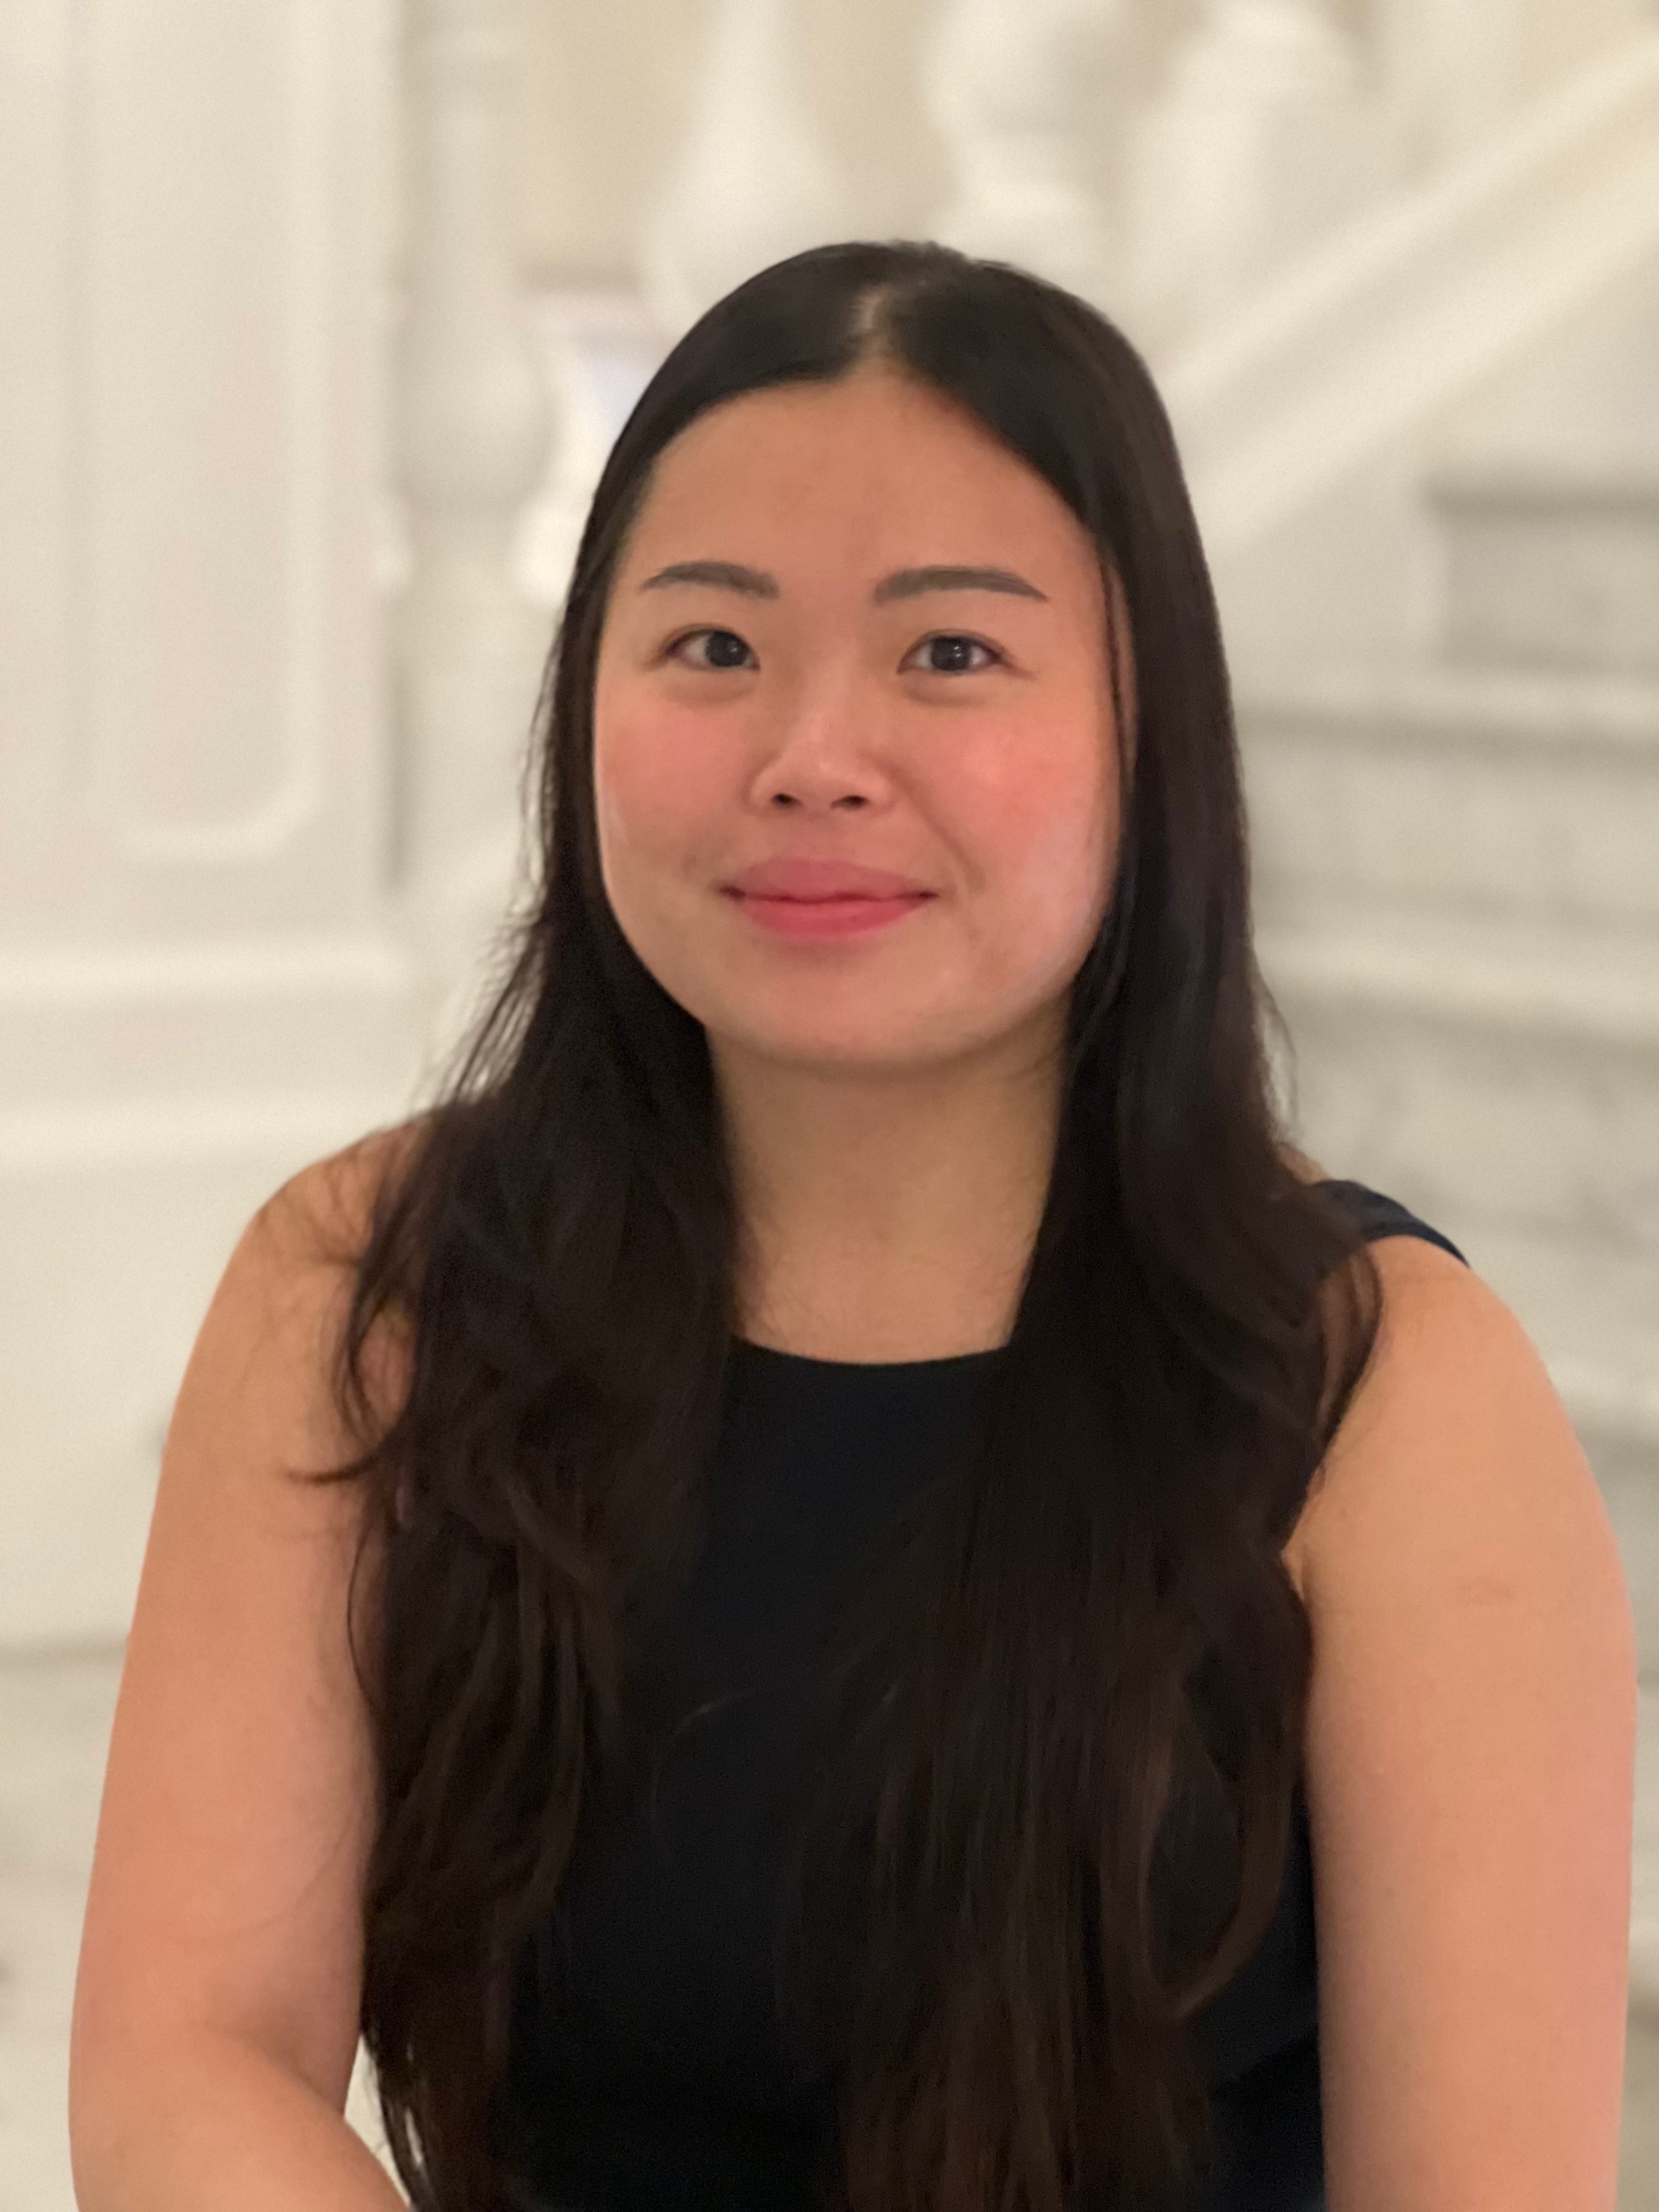
I slightly increased the exposure and shadows to brighten the face, reduced highlights to soften bright areas, and adjusted vibrance to give the portrait a gentle colour boost. I also applied light sharpening to bring more attention to the facial features
How I edited the image
Exposure: +0.30
Contrast: +5
Highlights: -20 Shadows
Temperature: +4
Tint: +2
Vibrance: +12
Saturation: +3
Sharpening: +12

